If you have ever seen an oak floor start to warp, cup, or split soon after it is installed, the problem is almost never the wood itself. Timber is a natural material that absorbs and releases moisture to match its environment. The key to stopping movement in the wood is proper acclimatisation, careful installation, and good aftercare. By controlling humidity and following the right installation steps, you can prevent major timber movement before you even lay the first board.
How Long Do You Need to Acclimatise Oak Flooring?
A common mistake on site is thinking timber can go straight from the delivery truck onto the floor. To stop the wood from shrinking or swelling after it is installed, it needs to reach its Equilibrium Moisture Content (EMC) for the room.
The required timeline depends entirely on your heating system and that the area is completely dry and at the temperature and RH that the area will be at for the rest of its use:
- Conventionally Heated Rooms: The timber packs must be unwrapped and stacked within the target room for at least one full week before fixing.
- Underfloor Heating (UFH) Zones: Because UFH subjects timber to direct dry heat, the wood requires a minimum of 10 days of acclimatisation.
When stacking the packs, do not put them directly on a new subfloor. Keep the bottom layers at least 50mm off the ground using timber battens, and place spacer laths between each layer for even airflow. Keep the heating on during this time, with the room temperature steady at 20°C to 22°C and the humidity between 45% and 55%.
What Subfloor Conditions Are Required Before Laying?
Before you lay any boards, make sure all wet trades like plastering, rendering, and screeding are finished, and the building is fully dry. If you bring dry oak boards into a damp, newly plastered house, the wood will quickly absorb moisture from the air, which can cause severe edge-cupping later.
If you are installing timber over underfloor heating, make sure the system is fully tested, running, and has been on for several weeks to remove any deep moisture from the subfloor. The highest allowed moisture level for a concrete or anhydrite screed is 1.8% CM (Carbide Method).
Which Fixing Method Should You Use for Wide Oak Boards?
The best way to install your floor depends on how wide your boards are and what shape your subfloor is in.
Check the width of your boards before you decide how to fix them in place: For boards up to 220mm wide, use a secret-fixing method. Drive screws or nails at a 45-degree angle through the top inside corner of the tongue into the joists, battens, or plywood.
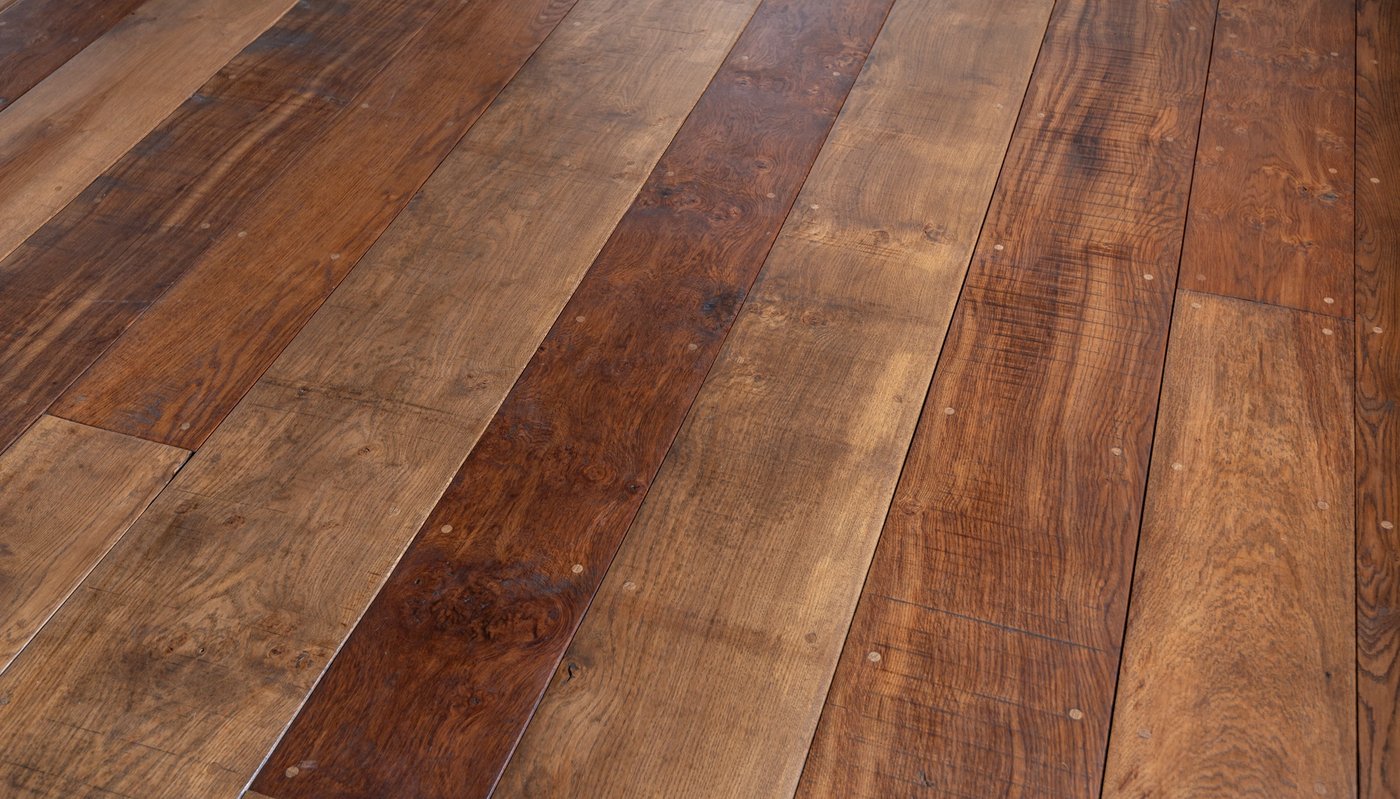
Apply Face-Fixing for Extra-Wide Planks: Required for boards over 200mm. Wide-plank oak flooring moves with greater physical force. For boards exceeding 200mm to 220mm, you must face-fix the timber. Pre-drill holes through the face of the board to prevent splitting, then secure using screws and wooden plugs, lost-head nails, or traditional cut rosehead nails for a historical aesthetic.
Use flexible adhesive lines to help keep the floor stable: Regardless of whether you choose secret-fixing or face-fixing, always run a bead of flexible flooring adhesive along the top of the joist or batten before positioning the board. This dampens sound and accommodates minor seasonal timber flex. Crucially, never glue the tongues and grooves together, as this locks the floor into a single mass and causes splitting.
For underfloor heating, use full-contact adhesion for best heat transfer: If you are laying flooring over underfloor heating, do not use localised fixing. Instead, use the full-contact adhesion method. Spread a special rubberised, flexible adhesive over the whole ply, chipboard, or screed base. Use clamping straps and heavy weights to keep the boards flat while the glue dries.
How Do You Safe-Start Underfloor Heating with New Wood?
Once a floor is glued down over an underfloor heating system, setting the thermostat to 24°C will thermally shock the timber, causing immediate adhesive failure or board splitting.
Instead, you should follow a careful process to gradually increase the heat:
Day 0: De-escalate System Prior to Fixing
Turn the underfloor heating system down to achieve a stable, cool floor surface temperature between 15°C and 18°C before laying the timber.
Days 1 - 3: Allow Adhesive Cure
Keep the heating at this lower baseline temperature to allow the full-contact rubberised adhesive to cure completely without thermal stress.
Days 4 - 12: Incremental Heat Introduction
Slowly raise the floor surface temperature by exactly 1°C per day. This incremental increase allows the engineered or solid timber to adjust gradually to the thermal output.
Day 13 onwards: Establish Maximum Operational Ceiling
Set the final temperature so the hardwood floor never goes above 27°C.
What Are the Essential Sealing and Aftercare Rules?
The last step for a good installation is to protect the surface of the timber from moisture and wear.
Sealing Unfinished Boards
If your Whippletree floor arrives it has been pre-sanded, Clean the surface lightly with a 120 grit orbital to remove installation marks, vacuum thoroughly, and apply two complete coats of the oil. Avoid walking on the surface for 24 hours, and wait 48 hours before moving heavy furniture or laying down rugs.
Long-Term Cleaning and Wear
The main thing that damages a natural oiled floor is fine grit, which works like sandpaper under your feet. Put good washable mats at all outside doors and vacuum often. If you need to mop, use a microfibre pad or a mop that is only slightly damp. Drops of water left on the floor will make the wood swell, so never soak the floor.
Over time, your timber floor will get small scratches and dents. Instead of seeing these as problems, remember that good British oak floors develop character as they age, turning everyday marks into a rich, historic look.
Do not hesitate to contact us if you are planning to install a new oak floor in your building project. We can advise you about the right way to acclimatise and install your oak flooring. See our detailed guide on acclimatisation and installation for further help.